 how-to
How to Manage Real Estate Inspections
Last Updated: October 25, 2026
Quick Summary
To manage real estate inspections effectively, schedule the inspection within your contract's contingency period, typically 7 to 10 days from offer acceptance, attend the walkthrough to observe and take notes, and review findings within 24 to 48 hours to decide your response before the deadline expires.
- Move-in inspections document existing damage as a baseline; move-out inspections identify new damage; routine inspections catch maintenance issues quarterly or annually.
- Sort inspection findings into four tiers by severity: safety hazards, major system defects, deferred maintenance, and cosmetic wear to prioritize your repair requests.
- Request repairs, ask for closing credits, accept as-is, renegotiate price, or cancel within the contingency based on findings and seller response.
- Verify all agreed repairs before closing with receipts, invoices, and photos during your final walkthrough while you still have leverage.
- Missing your inspection deadline can waive your contingency and put your earnest money at risk, so read the exact date and time in your contract.
Table of Contents
- Understanding the Purpose and Benefits of Regular Property Inspections
- Types of Inspections: Routine, Move-In, and Move-Out
- Creating a Home Inspection Checklist for Buyers
- How to Prepare for a Home Inspection as a Seller
- Establishing a Real Estate Inspection Timeline
- Conducting the Inspection: Documentation and Assessment
- What to Do After a Home Inspection Report
- Getting Professional Guidance on Your Inspection Results
- Frequently Asked Questions
Understanding the Purpose and Benefits of Regular Property Inspections
To manage real estate inspections effectively, you need to understand what they examine: a property's condition, systems, and structure to identify issues before closing.
At Manny Maldonado, REALTOR, we've guided clients through inspections across Southern Arizona, and a thorough process protects both sides and builds confidence in the final price.
When you manage real estate inspections well, you uncover costly repairs before closing, avoid deal-derailing surprises, create a paper trail, and support fair pricing based on actual condition.
Types of Inspections: Routine, Move-In, and Move-Out
Move-in inspections happen when a buyer takes possession. The inspector documents every room, system, and surface, creating a baseline record so later damage can be proven.
Move-out inspections occur when a tenant leaves a rental or when you're selling. The inspector checks for damage beyond normal wear and tear, protecting landlords and informing deposit decisions.
Routine inspections are scheduled periodically, often quarterly or annually, to catch maintenance issues before they become expensive repairs.
Each inspection type requires different checklists and focus areas:
- Move-in: document existing damage, test systems, photograph all rooms
- Move-out: compare current condition to move-in baseline, identify new damage
- Routine: check HVAC filters, test smoke detectors, inspect for water damage, verify locks work
Creating a Home Inspection Checklist for Buyers
Start with major systems: roof, foundation, plumbing, electrical, HVAC, and appliances.
Use 7 things to look for when touring a home to build a buyer's perspective during your walkthrough.
A practical checklist includes these categories:
- Exterior: Roof condition, gutters, siding, foundation cracks, grading around the home
- Interior: Walls and ceilings for water stains, floors for damage, windows and doors for operation
- Systems: HVAC age and operation, water heater condition, electrical panel safety, plumbing leaks
- Safety: Smoke detectors, carbon monoxide detectors, handrails, stair safety, proper grounding
Take photos and notes on anything that concerns you, and ask the inspector to explain findings you don't understand.
Learn what 3 warning signs to watch for when shopping for a home so you recognize red flags during your inspection.
How to Prepare for a Home Inspection as a Seller
Preparing your home for inspection improves the process and shows buyers you've maintained the property well.
Make sure the inspector can access all areas.
Test all systems before the inspector arrives, lights, HVAC, hot and cold water, garage door openers.
Gather documentation for the inspector: receipts for recent repairs, HVAC maintenance records, roof warranty information, and permits for completed work.
Steps to prepare your home:
- Deep clean all rooms and remove personal items
- Ensure clear access to attic, basement, utility areas, and roof
- Test all systems and appliances
- Fix obvious issues like leaky faucets or burnt-out bulbs
Establishing a Real Estate Inspection Timeline
Timing is where most inspection problems begin.
Most residential purchase agreements include an inspection contingency period, your protected time to inspect, review, and respond.
Missing an inspection deadline can waive your contingency and put your earnest money at risk. Read the exact date and time in your contract, not the general rule of thumb.
Build the timeline around these milestones:
- Offer acceptance: Note the inspection deadline, appraisal deadline, financing deadline, and closing date in one calendar.
- Days 1-2: Schedule the general inspection and any specialty inspections (roof, sewer scope, structural, well and septic, pool).
- Inspection day: Attend if possible, take notes, and ask the inspector to flag safety items separately from maintenance items.
- Within 24-48 hours of the report: Review findings, get contractor quotes for anything major, and decide your response.
Coordinate the inspection with other deadlines. The lender's appraisal and the inspection often run in parallel, and a major finding can affect appraisal expectations or loan conditions.
A practical way to set the inspection window is by risk, not habit:
- Newer construction or recently renovated home: Shorter window, general inspection plus a focused look at workmanship and permits.
- Older home or long-term owner: Longer window, general inspection plus roof, sewer, electrical, and HVAC specialists.
- Rural or well-and-septic property: Longest window, because water testing and septic evaluation take additional scheduling time.
- Estate sale or as-is listing: Confirm in writing what the seller will and will not address before you spend money on specialty inspections.
The inspection timeline is a contract tool, not a formality. Build it backward from your deadlines, schedule specialty inspections on day one, and deliver your response in writing before the contingency expires.
If you are unsure how your contract's inspection dates interact with your financing and closing schedule, ask before the clock runs out.
Conducting the Inspection: Documentation and Assessment
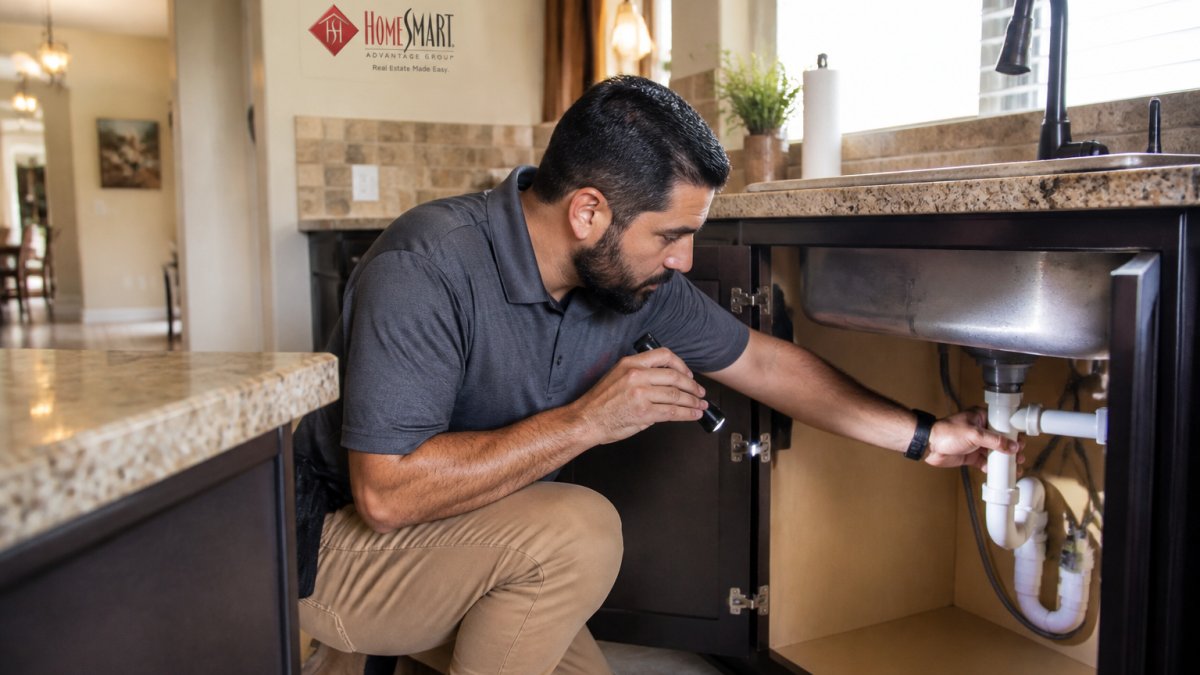
The inspection process requires systematic documentation. The inspector moves through the property room by room, checking condition and testing systems.
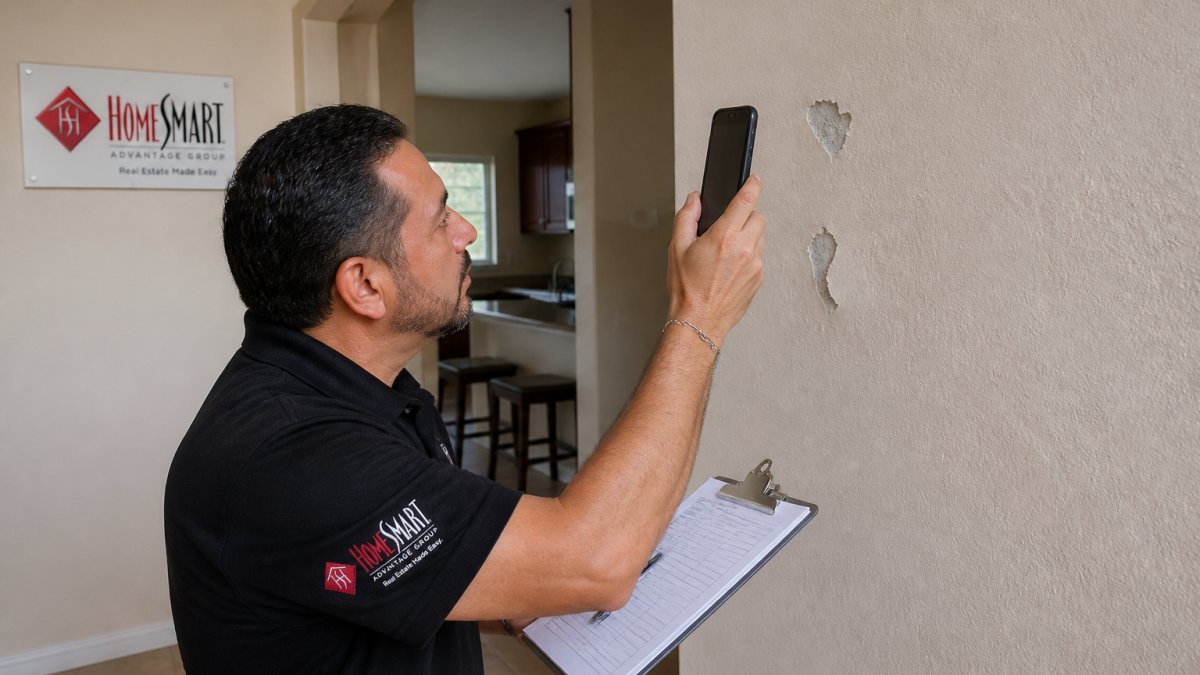
Documentation is critical.
Ask the inspector to explain findings, what an issue means, how serious it is, and what repair options exist, so you can make informed decisions.
Key documentation elements:
- Photos of all problem areas
- Written descriptions of damage or concerns
- System ages and condition ratings
- Safety issues requiring immediate attention
- Estimated repair costs when available
A thorough inspection creates the evidence base for your next decisions about the property.
What to Do After a Home Inspection Report
The inspection report is the starting point, not the finish line. A repeatable post-inspection workflow closes the gap between reading the report and confirming the work was done: score each finding, assign an owner and deadline, negotiate in writing, and verify completion before closing.
Step 1: Sort findings with an objective severity scale
Before you decide what to ask for, rank every finding on the same scale so cosmetic wear does not compete with safety hazards. A simple four-tier scale works for most transactions:
- Tier 1, Safety or immediate hazard: faulty electrical, gas leaks, missing or non-functioning smoke and carbon monoxide alarms, active water intrusion, structural concerns, sewer backups. These get addressed first.
- Tier 2, Major system or material defect: roof at or near end of life, failing HVAC, failed water heater, significant plumbing or drainage problems, active pest damage.
- Tier 3, Maintenance and deferred upkeep: caulking, minor leaks, worn weatherstripping, clogged gutters, aging but functional components.
- Tier 4, Cosmetic and normal wear: scuffs, minor cracks in drywall, dated finishes.
Score each item with the tier, a short description, the inspector's photo reference, and whether a specialist evaluation is needed. This gives you a defensible list you can share with the seller and your agent.
Step 2: Decide your response by tier
Your response should follow the severity ranking, not the length of the report. A common pattern is to request Tier 1 and Tier 2 items, negotiate Tier 3 selectively, and treat Tier 4 as expected wear. Buyers who ask for everything lose credibility; sellers who dismiss everything stall the deal. A tiered request keeps the conversation focused on what matters.
Your options are the same as in any negotiation, but the sequencing matters:
- Request repairs: Ask the seller to complete specific Tier 1 and Tier 2 items before closing, using licensed contractors where required.
- Request a credit: Ask for a closing credit so you control the repair and the contractor. This is often cleaner when the work is specialized or the seller is unlikely to complete it well.
- Accept as-is with eyes open: Proceed knowing the condition and budget for the work yourself.
- Renegotiate price: Use documented repair estimates to support a price adjustment when the findings are material.
- Cancel within the contingency: If the findings are severe enough and the seller will not address them, exercise your contractual right before the deadline.
Step 3: Assign an owner and a deadline to every agreed item
Once the seller agrees to repairs or a credit, convert the agreement into a tracked list. For each item, record the responsible party, the contractor, the deadline, and the verification method. This is the step most buyers skip, and where post-inspection problems usually surface.
| Item | Tier | Responsible party | Deadline | Verification |
|---|---|---|---|---|
| Replace failed water heater | 2 | Seller | Before final walkthrough | Receipt and photo of installed unit |
| Repair active roof leak | 1 | Seller | Before final walkthrough | Licensed roofer invoice and photo |
| Replace smoke and CO alarms | 1 | Seller | Before final walkthrough | Photo of installed alarms |
| Service HVAC | 3 | Buyer after closing | Within 30 days of closing | Service receipt |
Ask for receipts, invoices, and photos for every completed repair, not just a verbal confirmation. A final walkthrough is your chance to verify the work, and documentation makes that verification objective.
Step 4: Verify repairs before closing
The final walkthrough is not a second inspection, but it is your verification step. Bring your tracked list, confirm each agreed item was completed, and check that the work matches what was agreed.
If something was not completed or was done poorly, raise it before closing while you still have leverage. Waiting until after closing usually turns a seller obligation into your project.
Step 5: Keep the record
Save the inspection report, your severity list, the repair agreement, contractor invoices, and final walkthrough photos. This record is useful for warranty claims, future resale disclosures, and maintenance planning, and it shows future buyers the property was maintained with documentation.
A strong post-inspection process is a workflow, not a wish list: score findings by severity, respond by tier, assign owners and deadlines, and verify completion before closing.
If you want help turning an inspection report into a prioritized repair request and a verification plan, reach out to Manny Maldonado, REALTOR.
Getting Professional Guidance on Your Inspection Results
Inspection reports can be overwhelming. When you're unsure how to interpret findings or what action to take, professional guidance makes the difference.
Contact Manny Maldonado, REALTOR to discuss your inspection results and get personalized guidance on next steps.
A good real estate professional also coordinates with your lender and title company, since lenders have their own repair requirements before closing and title companies need documentation of any work done.
When to seek professional guidance:
- You don't understand inspection findings
- You're unsure whether to request repairs or accept the property
- Issues seem serious but you want a second opinion
- You need to negotiate repair requests with the seller
- You want to understand repair costs and timelines
Managing real estate inspections well protects your investment and keeps your transaction on track.
Frequently Asked Questions
What is the biggest red flag during a home inspection?
Structural issues, foundation damage, mold, or roof deterioration are serious red flags that can affect property value and safety. Water intrusion, electrical problems, and failing HVAC systems also warrant immediate attention. These findings often require professional assessment and repair estimates before moving forward with a purchase or lease decision.
How long does a real estate inspection take?
A typical home inspection takes 2 to 4 hours, depending on the property's size, age, and complexity. Older homes or those with multiple systems may require additional time. Inspectors examine structural elements, mechanical systems, plumbing, electrical, and interior/exterior conditions thoroughly to provide a complete assessment.
How clean does my house need to be for a home inspection?
Your home should be clean and accessible, but inspectors are accustomed to lived-in spaces. Focus on clearing areas that need examination: attics, basements, crawlspaces, and mechanical rooms. Remove clutter blocking access to HVAC units, water heaters, and electrical panels. A tidy presentation shows respect for the process and helps inspectors work efficiently.
Should I be present during the home inspection?
Buyers often attend inspections to learn about the property and ask questions directly. Sellers typically remain available but out of the way. For rental properties, provide advance notice as required by state law and allow the inspector access to all areas. Your presence or absence depends on the transaction type and local requirements.